
Organizing receipts really comes down to 3 steps
Why common ways of organizing receipts — a folder, a spreadsheet, typing into a budgeting app — never stick, and a 3-step method that ends with a single photo.
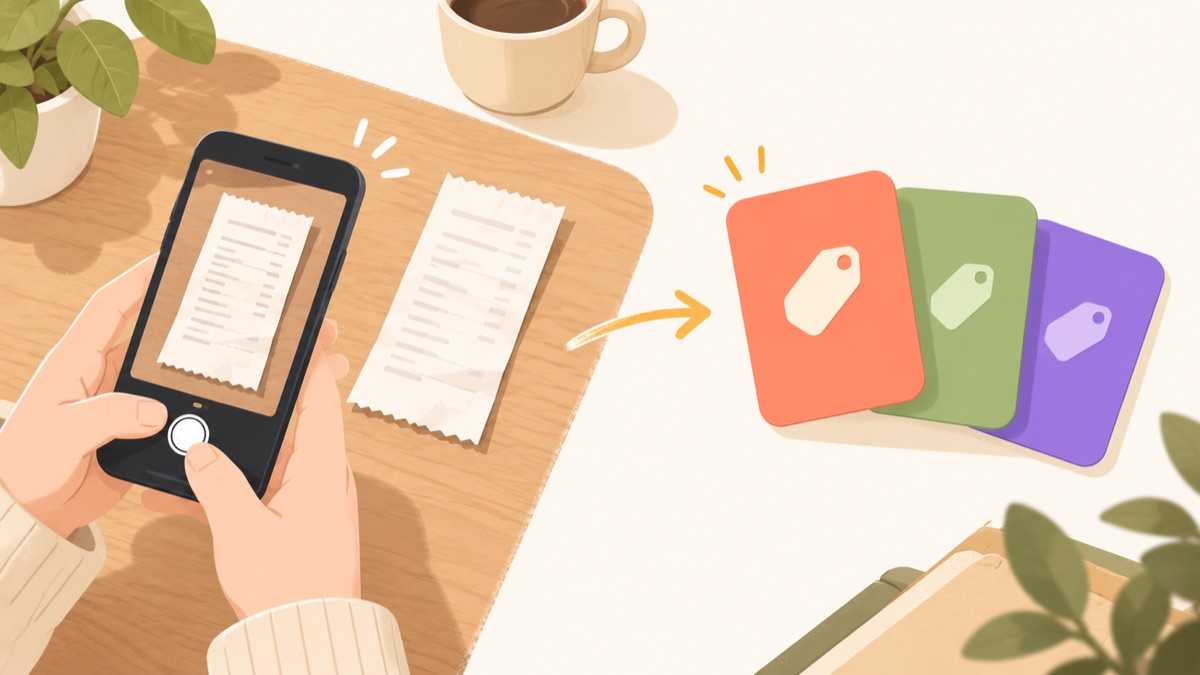
Everyone knows receipts need organizing. Refunds, expense reports, budgeting — sooner or later, you need to find one. The problem is that most methods you tell yourself you'll stick to fall apart within a few days.
Why the usual ways of organizing receipts don't stick
Stuffing them in an envelope or folder. It's the easiest method, but finding the one receipt you actually need in there turns into a bigger task than it should be. Worse, thermal-paper receipts fade over time, so just piling them up means they might become unreadable before you ever need them.
Typing them into a spreadsheet. Accurate, but you have to type the merchant, amount, and items by hand every single time. It works for a day or two, but after a few busy days the backlog builds up, and the more it piles up the less you want to deal with it — until you stop.
Logging each one in a budgeting app. Easier than a spreadsheet, but you still have to pick a category and enter the amount yourself every time. The core problem — that the act of entering data is a chore — never goes away.
None of these methods are wrong. But they all share the same trait: they only keep working if you keep doing something by hand every time you get a receipt. That's the real reason they don't last.
It really comes down to 3 steps
Here's what organizing looks like with Pilofy.
1. When you get a receipt, take one photo and save it. No filing it away, no opening an app to pick a category. Just snap a photo and save.
2. AI reads the merchant, date, amount, and even what you bought. No typing required.
3. Open the category and the total is already calculated. No adding up a month's worth by hand — just open it and it's there.
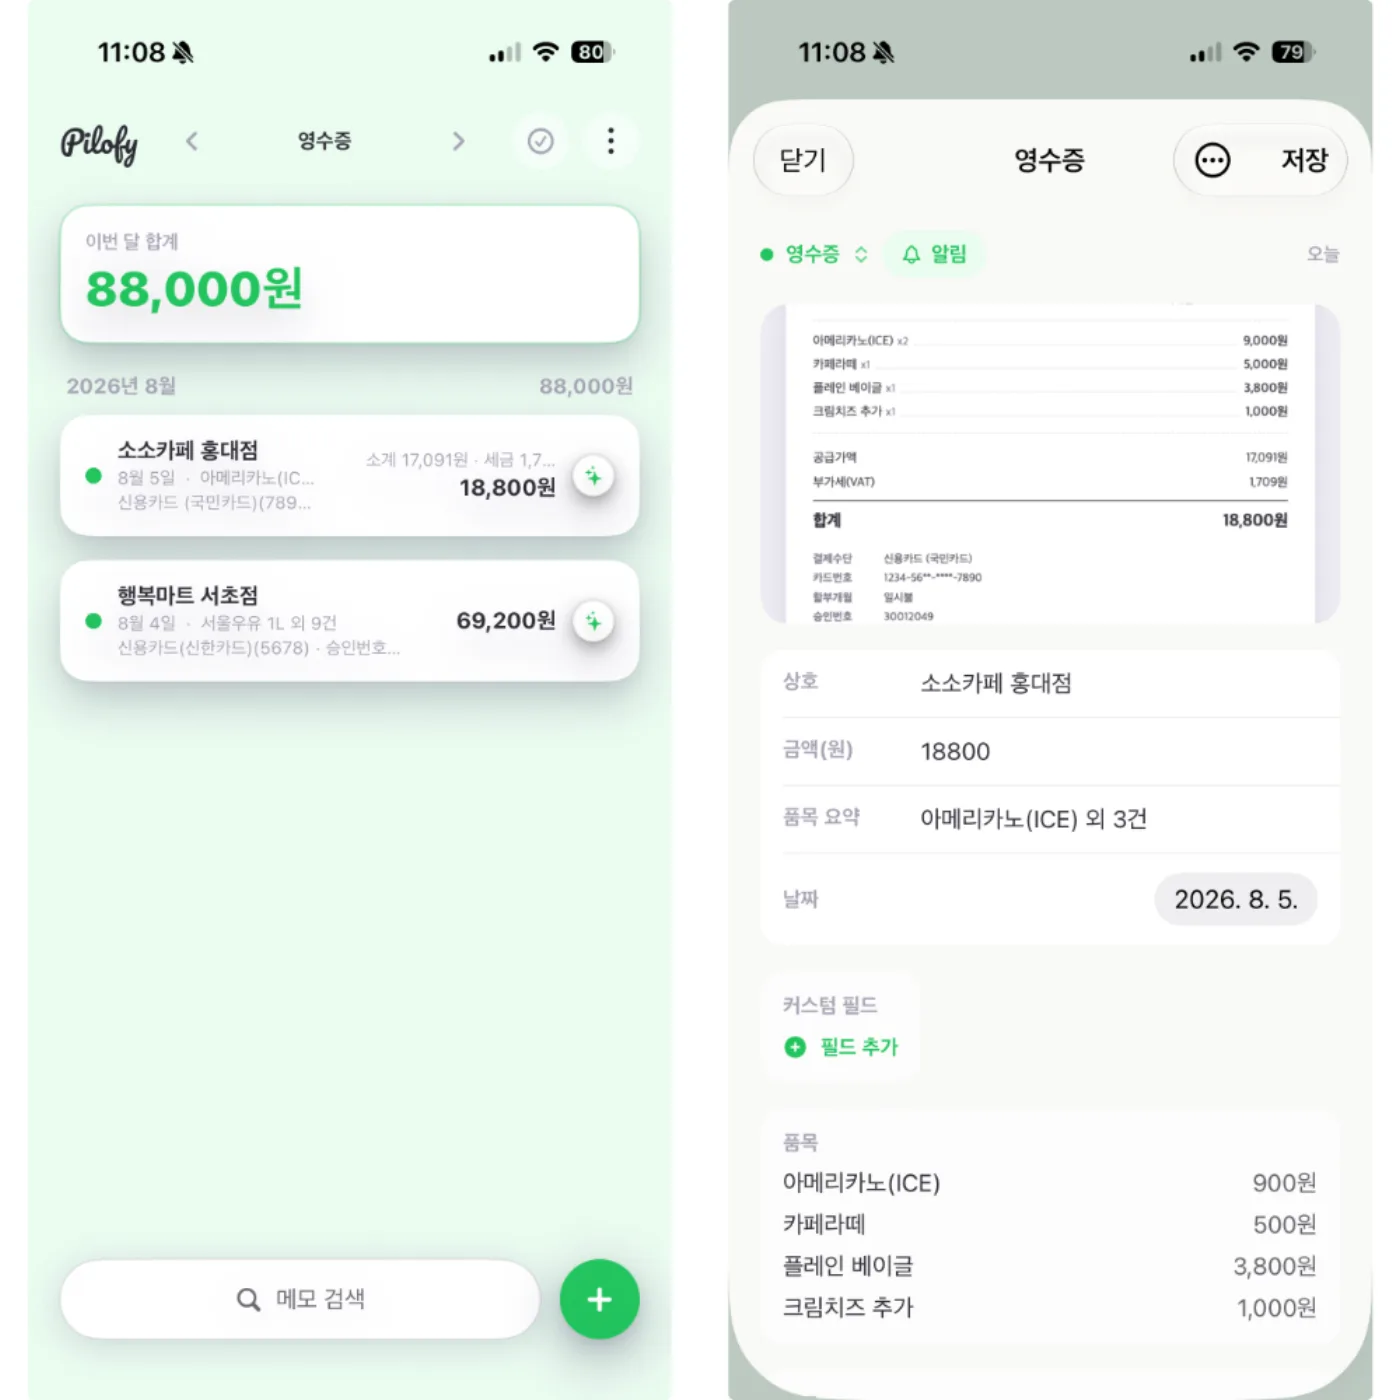
The only thing you actually do by hand across these three steps is take the photo. Everything else happens automatically the moment you save.
You don't need a paper receipt
You don't have to photograph a physical receipt, either. Save a screenshot of a payment approval notification from your card or bank app, and it's recognized the same way. These notifications usually don't list individual items, so in that case it's organized mainly by merchant name and amount — meaning even online purchases that never generate a paper receipt don't slip through.
Receipts you get while traveling work the same way, too. Foreign-language receipts aren't translated — they're recognized exactly as written — so a receipt from a trip abroad gets organized the same way a receipt at home would.
Moments when this pays off
- Requesting a refund or exchange a few days after buying something
- Batching up expense reports for work
- Checking the warranty period on an appliance or gadget
- Looking back over a month's spending to keep a budget
Instead of digging through a wallet or a drawer wondering where that one receipt went, you just open the category and scroll.
Start with the next receipt
Trying to organize everything that's already piled up can feel like too much at once. Instead, just start by photographing the next receipt you get. Once that habit builds, organizing stops being something you have to think about.
Pilofy is coming soon with iOS 27 — processed on-device through Apple Intelligence, so your photos never leave your phone.